
Description
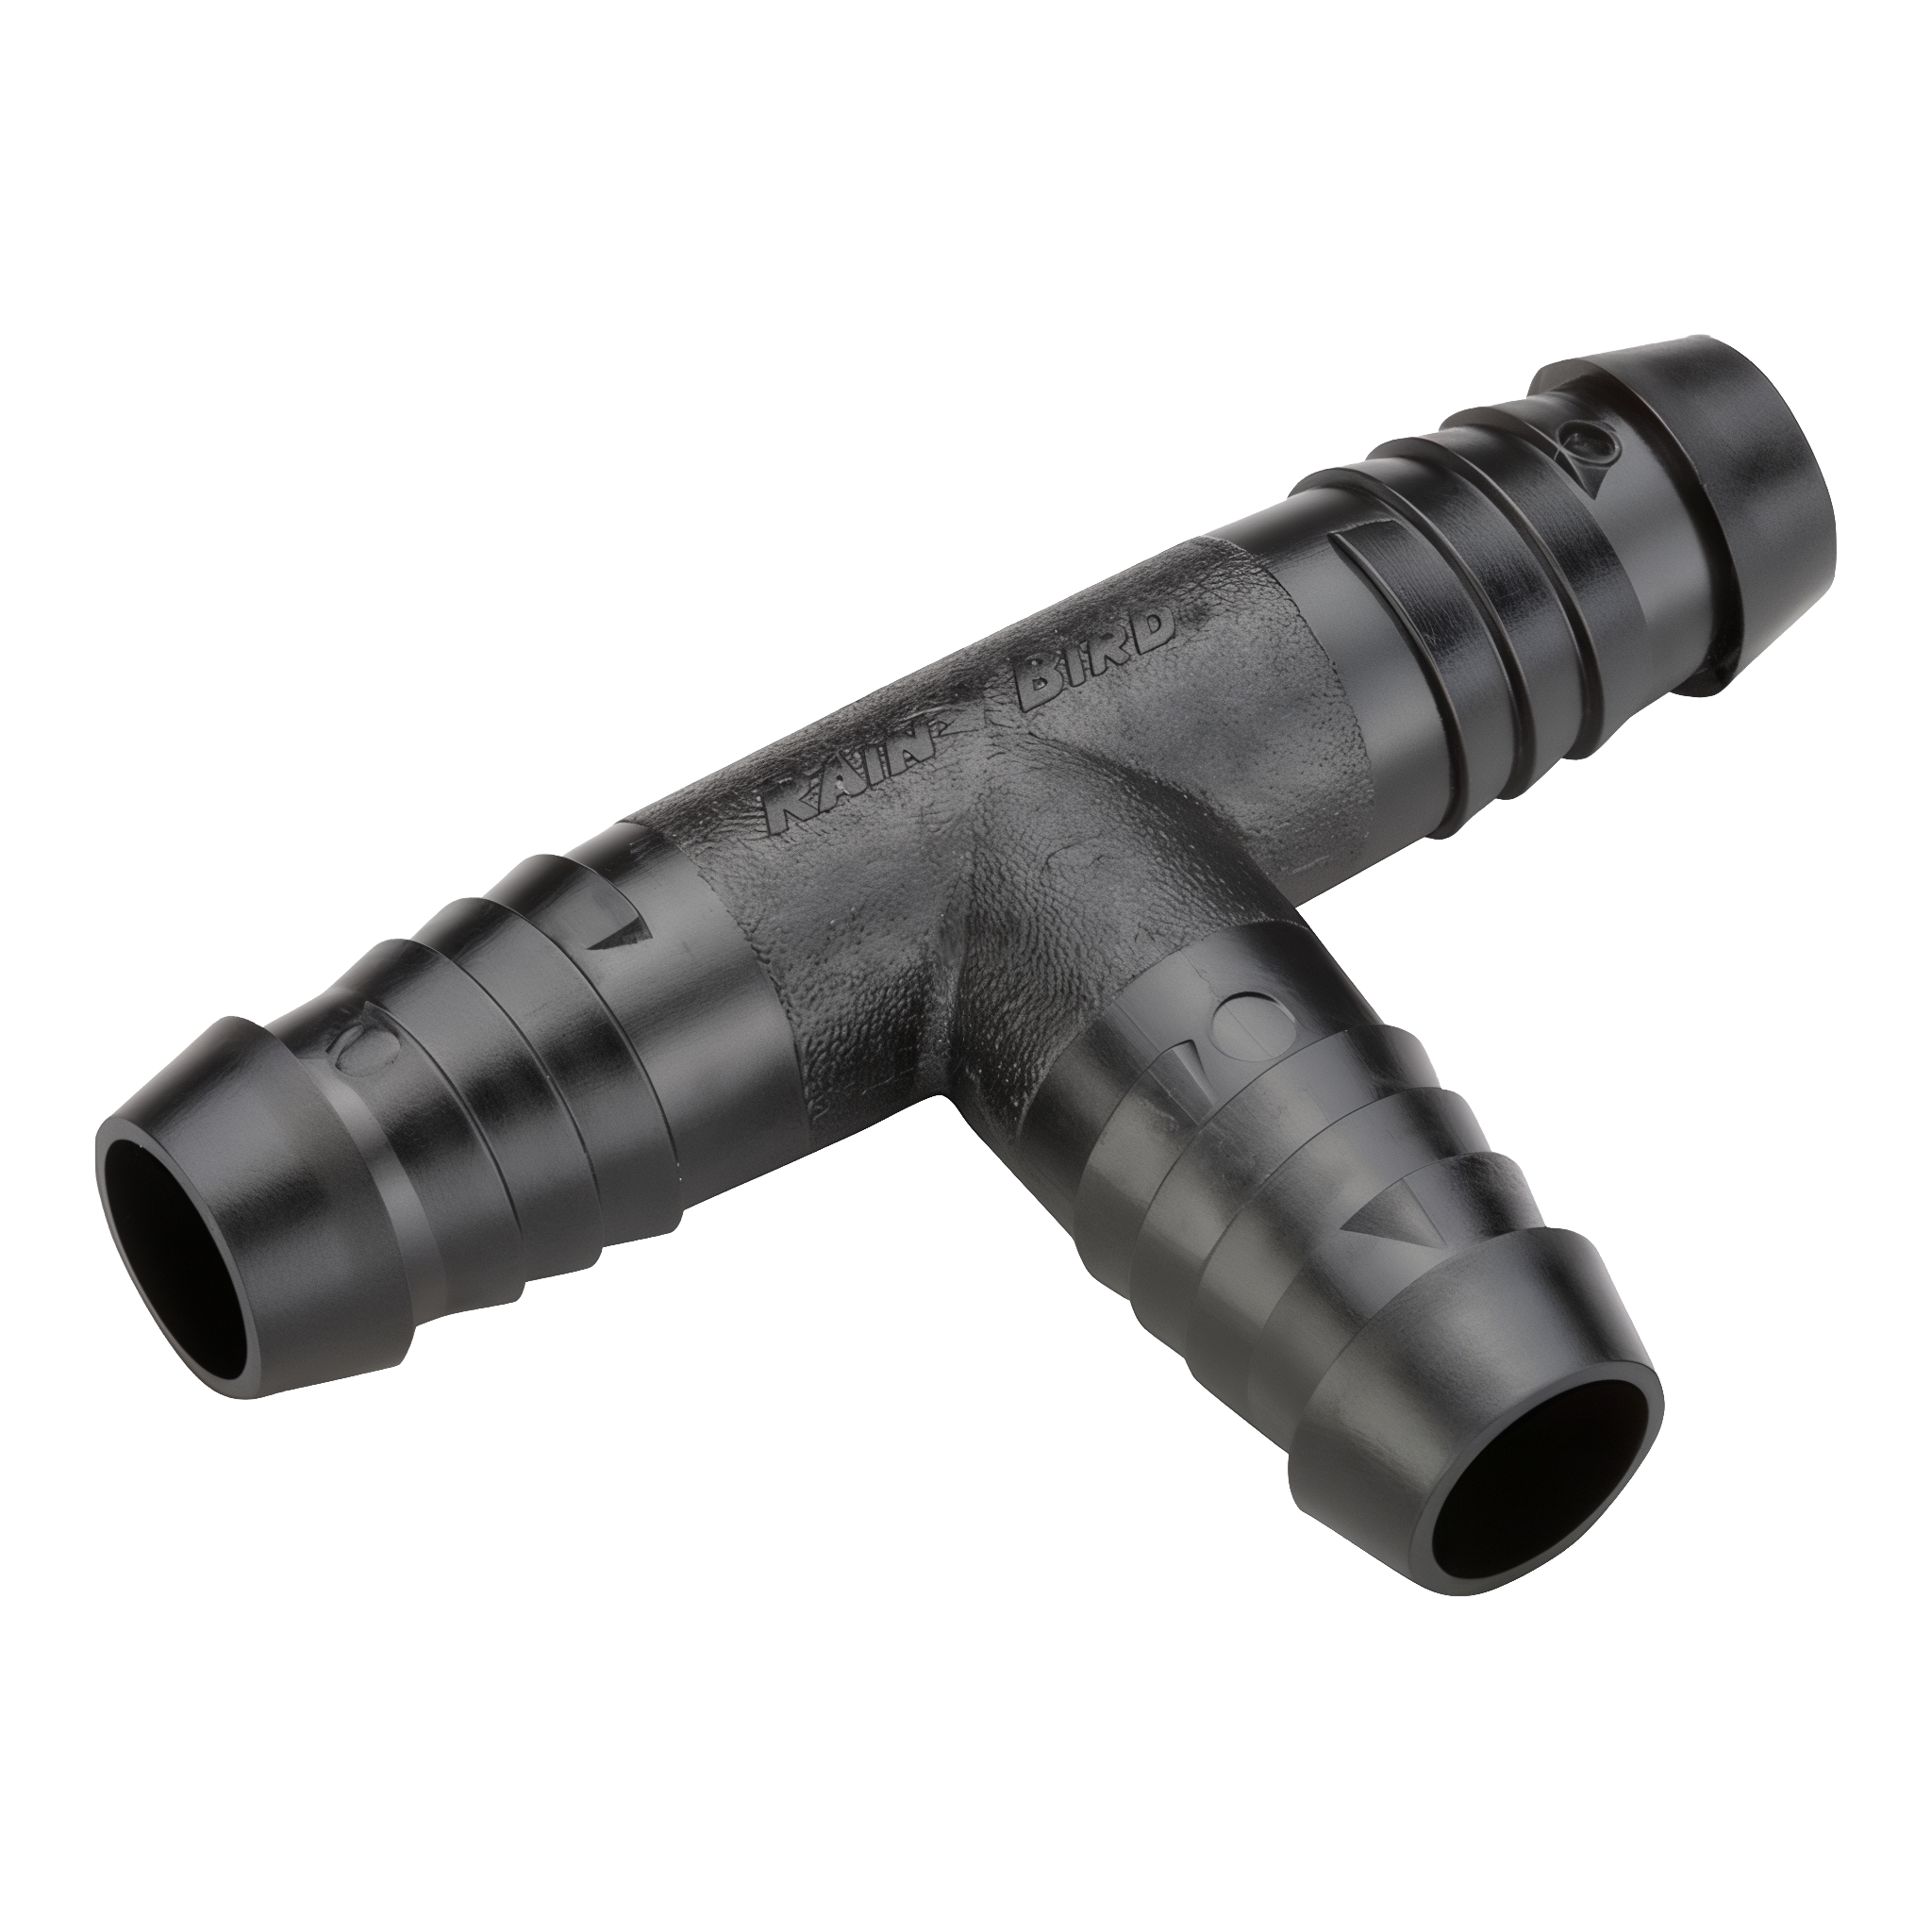
Branch off a drip lateral without cutting the run twice. The Rain Bird SBTEE is a three-way barbed tee with 1/2″ insert barbs on all three ports — cut your 1/2″ poly tubing once, slide the cut ends onto the side barbs, and run the side outlet up to a new emitter or down to a new branch lateral. Glass-filled engineering plastic body that survives the trench drops, the freeze-thaw cycles, and the UV that destroys cheap import barbed tees in a season.
Why Installers Pick the SBTEE
- Three matched 1/2″ insert barbs — all three ports take standard 1/2″ poly drip tubing (.700″ OD class)
- Glass-filled plastic body — UV-, soil-, and freeze-thaw-stable for buried OR surface-laid drip lines
- Rain Bird quality control — consistent barb OD batch-to-batch, so clamps seat properly every time
- Compatible with Oetiker 1-ear stainless clamps, worm-drive clamps, or any standard 16–18 mm closing-range clamp
- Single-piece body — no welds, no glue joints, nothing to fail under pressure
Where It Shines
- Adding a branch off an existing drip lateral — cut once, splice in the tee, route the side leg
- Building a manifold of multiple drip zones from a single supply line
- Service-call patches replacing failed import barbed tees
- Emitter-line tap-offs to remote plant clusters
- Mainline tee-offs from PE supply to bed laterals
Specifications
- Model: SBTEE
- Ports: Three 1/2″ insert barbs (run-run-branch geometry)
- Outlet sizing: 1/2″ nominal poly drip tubing (.700″ OD class)
- Body material: Glass-filled engineering plastic
- Recommended clamp: Oetiker 1-ear stainless or equivalent worm-drive (16–18 mm closing range)
- Use: Buried or surface, residential / light commercial drip irrigation
- Approximate weight: 1 lb per pack
- Origin: Rain Bird
Install Notes
- Slide a clamp onto EACH tubing end BEFORE pushing onto the barbs — you can’t open clamps after the tubing is seated
- Cut the tubing square with a sharp knife or PE pipe cutter (a ragged cut won’t seal)
- Push each tubing end fully home onto the barb — the last barb ridge should be fully covered
- Position the clamp over the barb body and crimp / tighten (one clamp per port = three clamps total)
- Pressure-test before backfilling the trench
- If you’re cutting into an existing pressurized line, shut the zone off at the valve first
Stop by Garoppo’s for the count you need, or order ahead for the next install.